Practical task: Lighting Experiment
Firstly I started looking at tutorials from film schools on lighting in film noir, I had then taken note on the advice and ideas given and attempted some low key lighting techniques.
Lighting experiment part 1
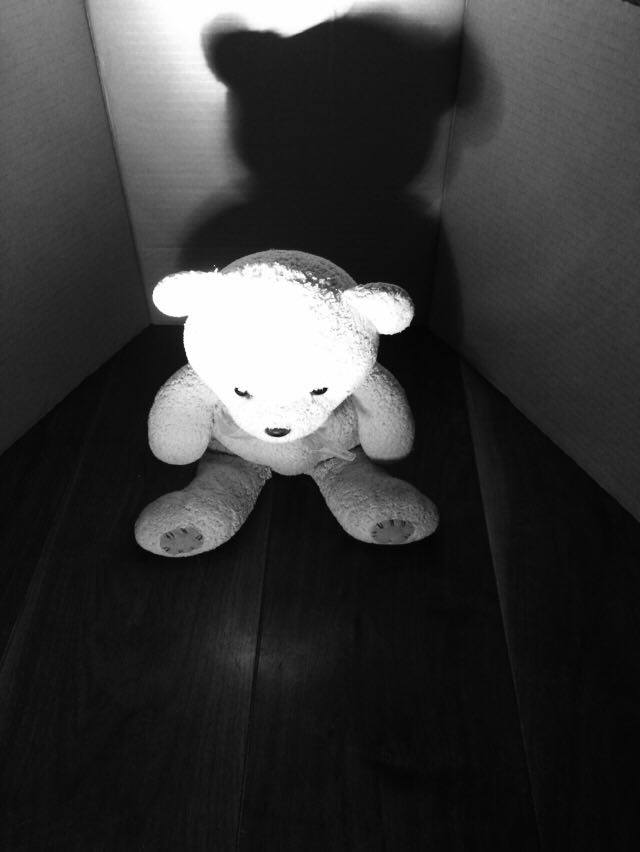
For the first part of the lighting experiment I decided to use a small lamp to light up the subject, I contained the subject so I could see the affect of lighting on a small scale. In real life this would be more effective for the face rather than the full body.


I used a set up of two pieces of cardboard, one behind the other to block out the light from the double doors in my dinning room.


Placing the light on the left side created a shadow in the background, but lit up the whole of the subject. In doing so you can still contrast the subject from the background.


Using the "Noir" filter on my camera, I took pictures from different angles of the bear, then I moved the light to the other side to see the affect this had on the shadows created.


I found that when I moved the light closer and made the lighting became harsher, and thus blended the bear into the background through the use of shadows. By doing this, it generated more of a mystery effect as it made the bear more sinister in appearance.

I then moved the light behind the bear which resulted in the bear being covered in shadow, I thought this could be successfully used to conceal someone's identity.
When I put the light source directly in front of the subject illuminated the bear, however blotted out the background creating a big shadow on the cardboard background.
Lighting experiment part 2
Next I used the big lamp as my overhead lighting and back light, I then shone the light directly above the set up/ subject.


The effect developed from this made the bear and the background brighter, giving the effect of daytime.
Lighting experiment part 3

The spotlight light was used next.


With the spotlight you can choose to light certain parts of the subject e.g. eyes and keep the rest of the scene in darkness.


Next I tried different angles whilst using the spotlight, from a low angle the bear seems more menacing with the spotlight focused on his head. When the camera was at a high angle if still made the bear look threatening through the use of the big shadow behind it.
Lighting experiment part 4
Lastly I cut out some strips in card and used this as a frame for my venison blinds effect.


This proved to be effective when I held it further away from the torch, as it gave off the illusion of venison blinds.

However when I held the card close to the torch it made the gaps bigger and less effective because it doesn't look like the shadows of the venison blinds.
Evaluation
Improvements and concerns:
A main concern that I have is that the light would have to be quite close to the subject in frame, so if it where to be a person and we're lighting up their face, they'd be exposed to the light throughout filming and cause eye strain.
Also I don't know if it would be as effective in the location, especially when we're outside as we may not have access to and plug sockets that would be nearby.
Successes:
As a whole the experiment went well, and I have learnt a lot from it and the effects created by different forms of lighting which we can incorporate into the final filming.
No comments:
Post a Comment