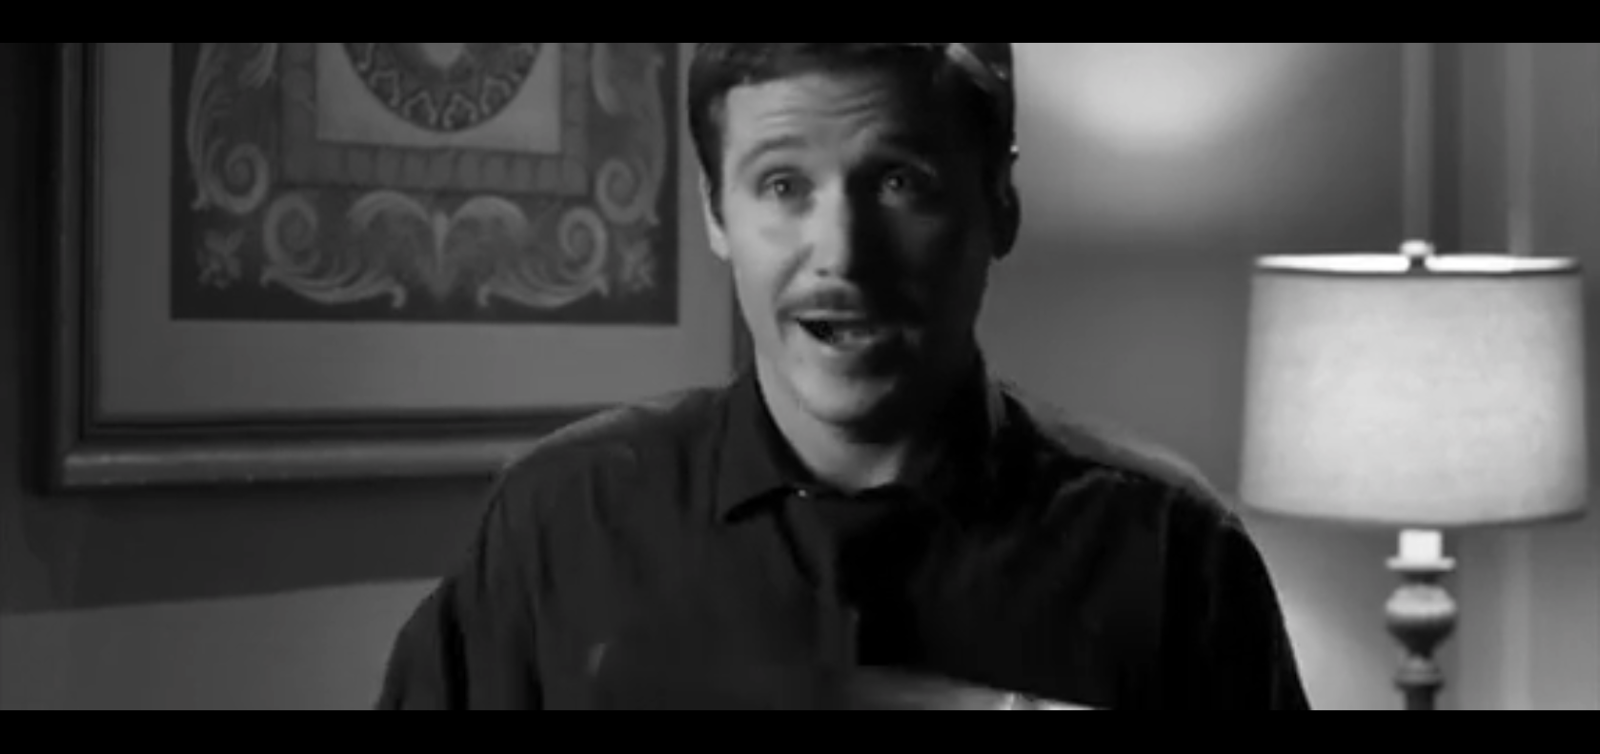
For my practical task I investigated the use of cut outs and lighting. Often in film noir, cut outs are used to pool light on to a character's face or certain parts of it. This makes it more dramatic. It is an easy lighting technique that greatly increases the visual interest of a shot and creates more intense shadows. Here is an example.
I tried my best to recreate the effect with some paper, cardboard, and a lamp.
The first image is just a desk lamp aimed at this stuffed toy. The second is the same desk lamp shone through a thin paper cut out, and the third is shone through a cardboard cutout.
In the last two, the light pools on the head, as one would expect, however they are quite different. In the third one, more of the light is blocked out, creating a more dramatic effect. However, in the example, the use of this technique is very subtle, and I think the subtlety of the second one might work better, as unlike using a cut out to create the shadows of Venetian blinds the point of this is not to have crisp shadows, but to draw attention to a specific point on a character.
The most important part of lighting in film noir’s is the
shadows as the film often has a black and white filter which can enhance the
shadows. The shadows can be created by using a small intense light and by
emphasising the contrast between high and low key lighting. Hard lighting is the most commonly used type of lighting as it gives a sharp shadow. Whereas, soft lighting may be used to glamourise female characters.
Another
common of lighting in film noir is the use of venetian blind shadows. This can
create a sense of mystery as only some parts of the object or person are shown.
A foggy background can be used to create an eerie glow with silhouettes.
This also creates a sense of mystery and suspense as the only two bold things
we can see I the shot is the characters. However, none of their detailed
features can be seen.
Shadows projected onto the walls behind are also a very
common feature. This can be created by using intense lighting. The lights can
be placed behind the actor to create the shadows.
Firstly I started looking at tutorials from film schools on lighting in film noir, I had then taken note on the advice and ideas given and attempted some low key lighting techniques.
Lighting experiment part 1
For the first part of the lighting experiment I decided to use a small lamp to light up the subject, I contained the subject so I could see the affect of lighting on a small scale. In real life this would be more effective for the face rather than the full body.
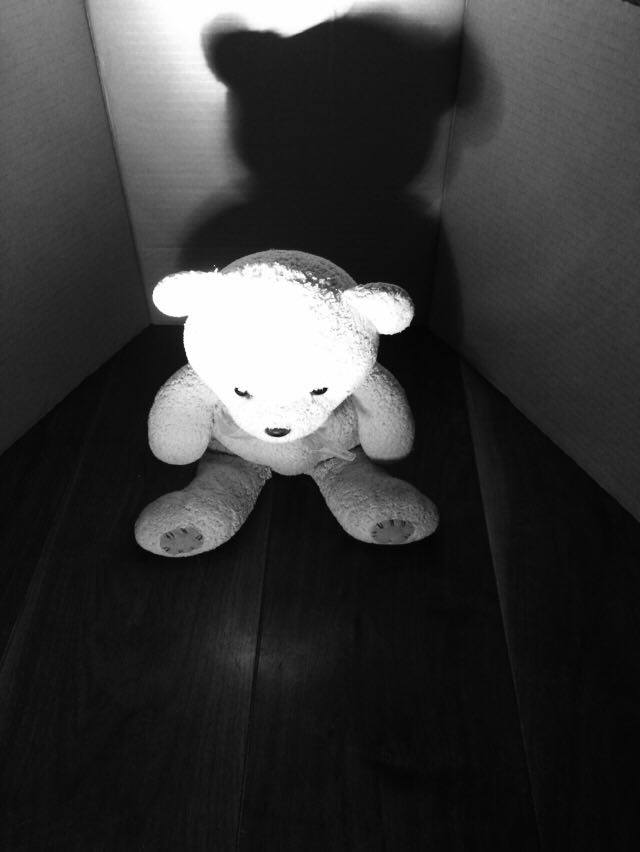
I used a set up of two pieces of cardboard, one behind the other to block out the light from the double doors in my dinning room.
Placing the light on the left side created a shadow in the background, but lit up the whole of the subject. In doing so you can still contrast the subject from the background.
Using the "Noir" filter on my camera, I took pictures from different angles of the bear, then I moved the light to the other side to see the affect this had on the shadows created.
I found that when I moved the light closer and made the lighting became harsher, and thus blended the bear into the background through the use of shadows. By doing this, it generated more of a mystery effect as it made the bear more sinister in appearance.
I then moved the light behind the bear which resulted in the bear being covered in shadow, I thought this could be successfully used to conceal someone's identity.
When I put the light source directly in front of the subject illuminated the bear, however blotted out the background creating a big shadow on the cardboard background.
Lighting experiment part 2
Next I used the big lamp as my overhead lighting and back light, I then shone the light directly above the set up/ subject.
The effect developed from this made the bear and the background brighter, giving the effect of daytime.
Lighting experiment part 3
The spotlight light was used next.
With the spotlight you can choose to light certain parts of the subject e.g. eyes and keep the rest of the scene in darkness.
Once the spotlight was behind the bear it had lit up the cardboard background and right side of the bear, you could still see most of the bear due to the softer lighting, however not that well as it was dark.
Next I tried different angles whilst using the spotlight, from a low angle the bear seems more menacing with the spotlight focused on his head. When the camera was at a high angle if still made the bear look threatening through the use of the big shadow behind it.
Lighting experiment part 4
Lastly I cut out some strips in card and used this as a frame for my venison blinds effect.
This proved to be effective when I held it further away from the torch, as it gave off the illusion of venison blinds.
However when I held the card close to the torch it made the gaps bigger and less effective because it doesn't look like the shadows of the venison blinds.
Evaluation
Improvements and concerns:
A main concern that I have is that the light would have to be quite close to the subject in frame, so if it where to be a person and we're lighting up their face, they'd be exposed to the light throughout filming and cause eye strain.
Also I don't know if it would be as effective in the location, especially when we're outside as we may not have access to and plug sockets that would be nearby.
Successes:
As a whole the experiment went well, and I have learnt a lot from it and the effects created by different forms of lighting which we can incorporate into the final filming.
Dramatic lighting is vital in film noir. It usually features a single, harsh light, resulting in very solid black shadows. As the locations we are using are not actually appropriate for our setting, we have to light it very carefully and obscure as much of it as we can in shadows.
The first example is silhouette lighting, in which the harshest light source is on the opposite side of the subject to the camera, obscuring most of the features of the subject, but highlighting the shapes. It works especially well in film noir due to the lack of colour and high contrast, but is generally common across all crime fiction. This example is from "Catch Me If You Can". The lighting is reflective of the context of the scene, a dark conversation laden with threats.
This technique is sometimes called an eye-light. Flags are used to block the light in certain areas so that it only lights the brow and puts the highlights in the eyes. This is used to draw attention to a female character's face and eyes. It's an interesting technique.
This shot from "Hotel Noir" features a low hanging light, resulting in the radius of the light being very small and the light being very harsh. This also creates silhouettes of the protagonist and the railings.
In this shot, also from "Hotel Noir", the light is mostly from one side of the subject, obscuring half of his face. This is reflective of his intentions to steal money. The other side of his face being brightly lit could be associated with his hopes of starting a better life with it. It is an interesting case to light half the face instead of creating a silhouette of him. Its prevalence in film noir is most likely due to how good it looks in black and white and the idea of a good and bad side to everyone.
For
inspiration I looked at the film ‘Gangster Squad’ and a YouTube video,shown below,to see how to create different lighting
effects in the film noir genre. Lots of low-key lighting and shadows were used as well as contrasts between bright and dark lighting.
Practical Task
Whilst
watching Gangster squad I saw that in some shots there was a contrast between
the lighting in the background and foreground. The background was normally
bright whilst the foreground was dark. This created a silhouette of the
character enabling them to remain unknown.
I then tried to
create a similar image myself. I waited until it was dark outside and decided
to place a bear on a windowsill whilst the lights inside were turned on. This
then allowed me to make the contrast between the lighting creating a silhouette,
showing only a faint outline of some details on the bear.
Our group also wanted
to try an interrogation scene where there would be a light swinging above the
characters. For further inspiration I looked at an interrogation scene from the
film Nightcrawler.
This clip showed the two characters sitting at a table with
one light directly above the table making the scene dimly lit. This type of lighting means that the two characters sitting at the table are bright, to create a focus on them, whilst their surroundings are dark. I then tried to recreate this lighting.
I used my phone torch as this was a white light often seen
in interrogation scenes. As I could not hang my phone from the ceiling I had to
hold it. Therefore, I had to set the camera on timer and place it on the floor
so that I could hold the light up. Consequently, the angle of the photo was not
how I wanted it.
I also tried to shine
the torch more towards one character so it was obvious as to who was getting interrogated
as seen in the photo above. In Gangster Squad they used the lighting to clearly define the features on one side of the characters face whilst the other side remained in the darkness. This lighting was used to show the villain whereas the hero would have been shown in full light.
I then looked at a
YouTube video to see how they created this effect. The video showed a bright
light being shone onto one side of the character. I then recreated this
lighting in my own photo showing one side of the bear whilst the other side is
in the dark.
Finally, I looked at
shadows which are common in film noirs. I found that shining the light on the
right of the bear created a shadow on the left and by shining the light on the
left side a shadow was created on the right. By shining the light directly in
front of the bear a shadow would also appear in front of the bear.
Evaluation
In the
future I would make sure that we could hang the light up during the interrogation
scene or have at least two people filming the scene. This would then enable us
to get better camera angles. I also found it hard to recreate some of the
effects due to not having professional lighting,