Practical investigation - Props
Inspiration
Firstly, I looked to YouTube for any film noir openings or trailers which could inspire me, however selection was very limited due to the uncommon genre and most of the available videos didn't focus at all on props. After searching for a while and still coming up empty handed, I turned to Google images where I found many pictures showing a selection of props on a table, such as the ones pictured below. These were the main source of my ideas and inspired me to create the typical desk of a film noir detective.
Finding the props
I decided to use some of the objects in the pictures I found. I instantly recognised the hat as a fedora and knew I had a similar one, so pictured it hanging from a hook.

Most of the other props used were items found around my house which looked old, dated and messy and worked perfectly with the look I was going for. These included some old family photos in worn out frames, a very vintage camera and pair of binoculars and I also tea-stained some paper to create the image of some old faded documents.
I also took pictures of a waste bin full of old papers and cigarette packets, and a close up of the filing cabinet I used as the desk.
Finally, although not a prop, a messy looking shelf in my house looked like it would fit in with the office of an overworked detective. However, when I came to edit it, I saw there was a bottle of nail varnish on the shelf which looked very out of place. I attempted to Photoshop this out using the clone stamp tool.
Editing
I took this opportunity to practice my photo editing skills which may come in handy later in the process. I used Photoshop CS5 to edit the pictures. I first desaturated all the pictures to make them black and white. To make them look even more dated, I used the texture below in soft light, and altered the opacities for each image until it looked right.
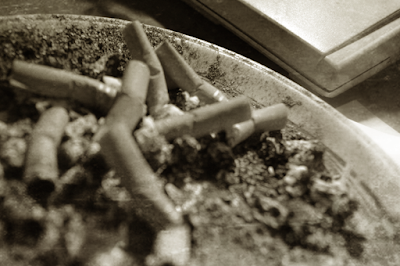
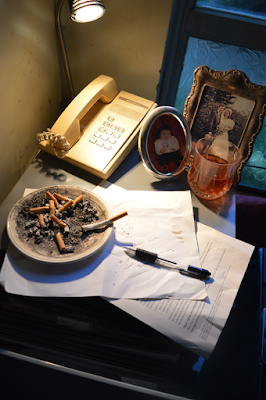
Finally, I painted over each image in a new layer, also in soft light, in the colour #ce9f00 and set the opacity to 27% to create a slight sepia effect. Below are pictures of the finished desk before and after editing.

Evaluation
The process of finding and organising all the props took roughly 40 minutes, whereas the editing took about half an hour. I think many of the props I found will be helpful when it comes to filming our film opening and will provide inspiration for further props. Some however, such as the cigarettes and alcohol may be impractical as we are all under 18, however the improvisation I did with the tea was very realistic and can easily be recreated. I did attempt to teastain the paper, however I didn't leave it to dry long enough. In our actual thing this would be a good technique to use to make paper look old and worn.


No comments:
Post a Comment